Gearbox doesn’t quite know how to sell their latest FPS Battleborn — is it a MOBA with arcade-shooter elements? Is it a Borderlands-style loot-and-shoot cooperative experience? Or is it just a crazy-fun action game. There are plenty of ways to describe Battleborn, but all we care about is getting good.
If you’re new to Battleborn and want to get started strong then you’ve come to the right place. After watching countless hours of gameplay, shooting it out online with friends, and reading through some particular pro strats, we’ve come up with an expansive list of 10 useful tips we wish we knew. Check out the full list of tips, tricks, and strategies below — and if you have some amazing facts up your sleeve, please let us know in the comments!
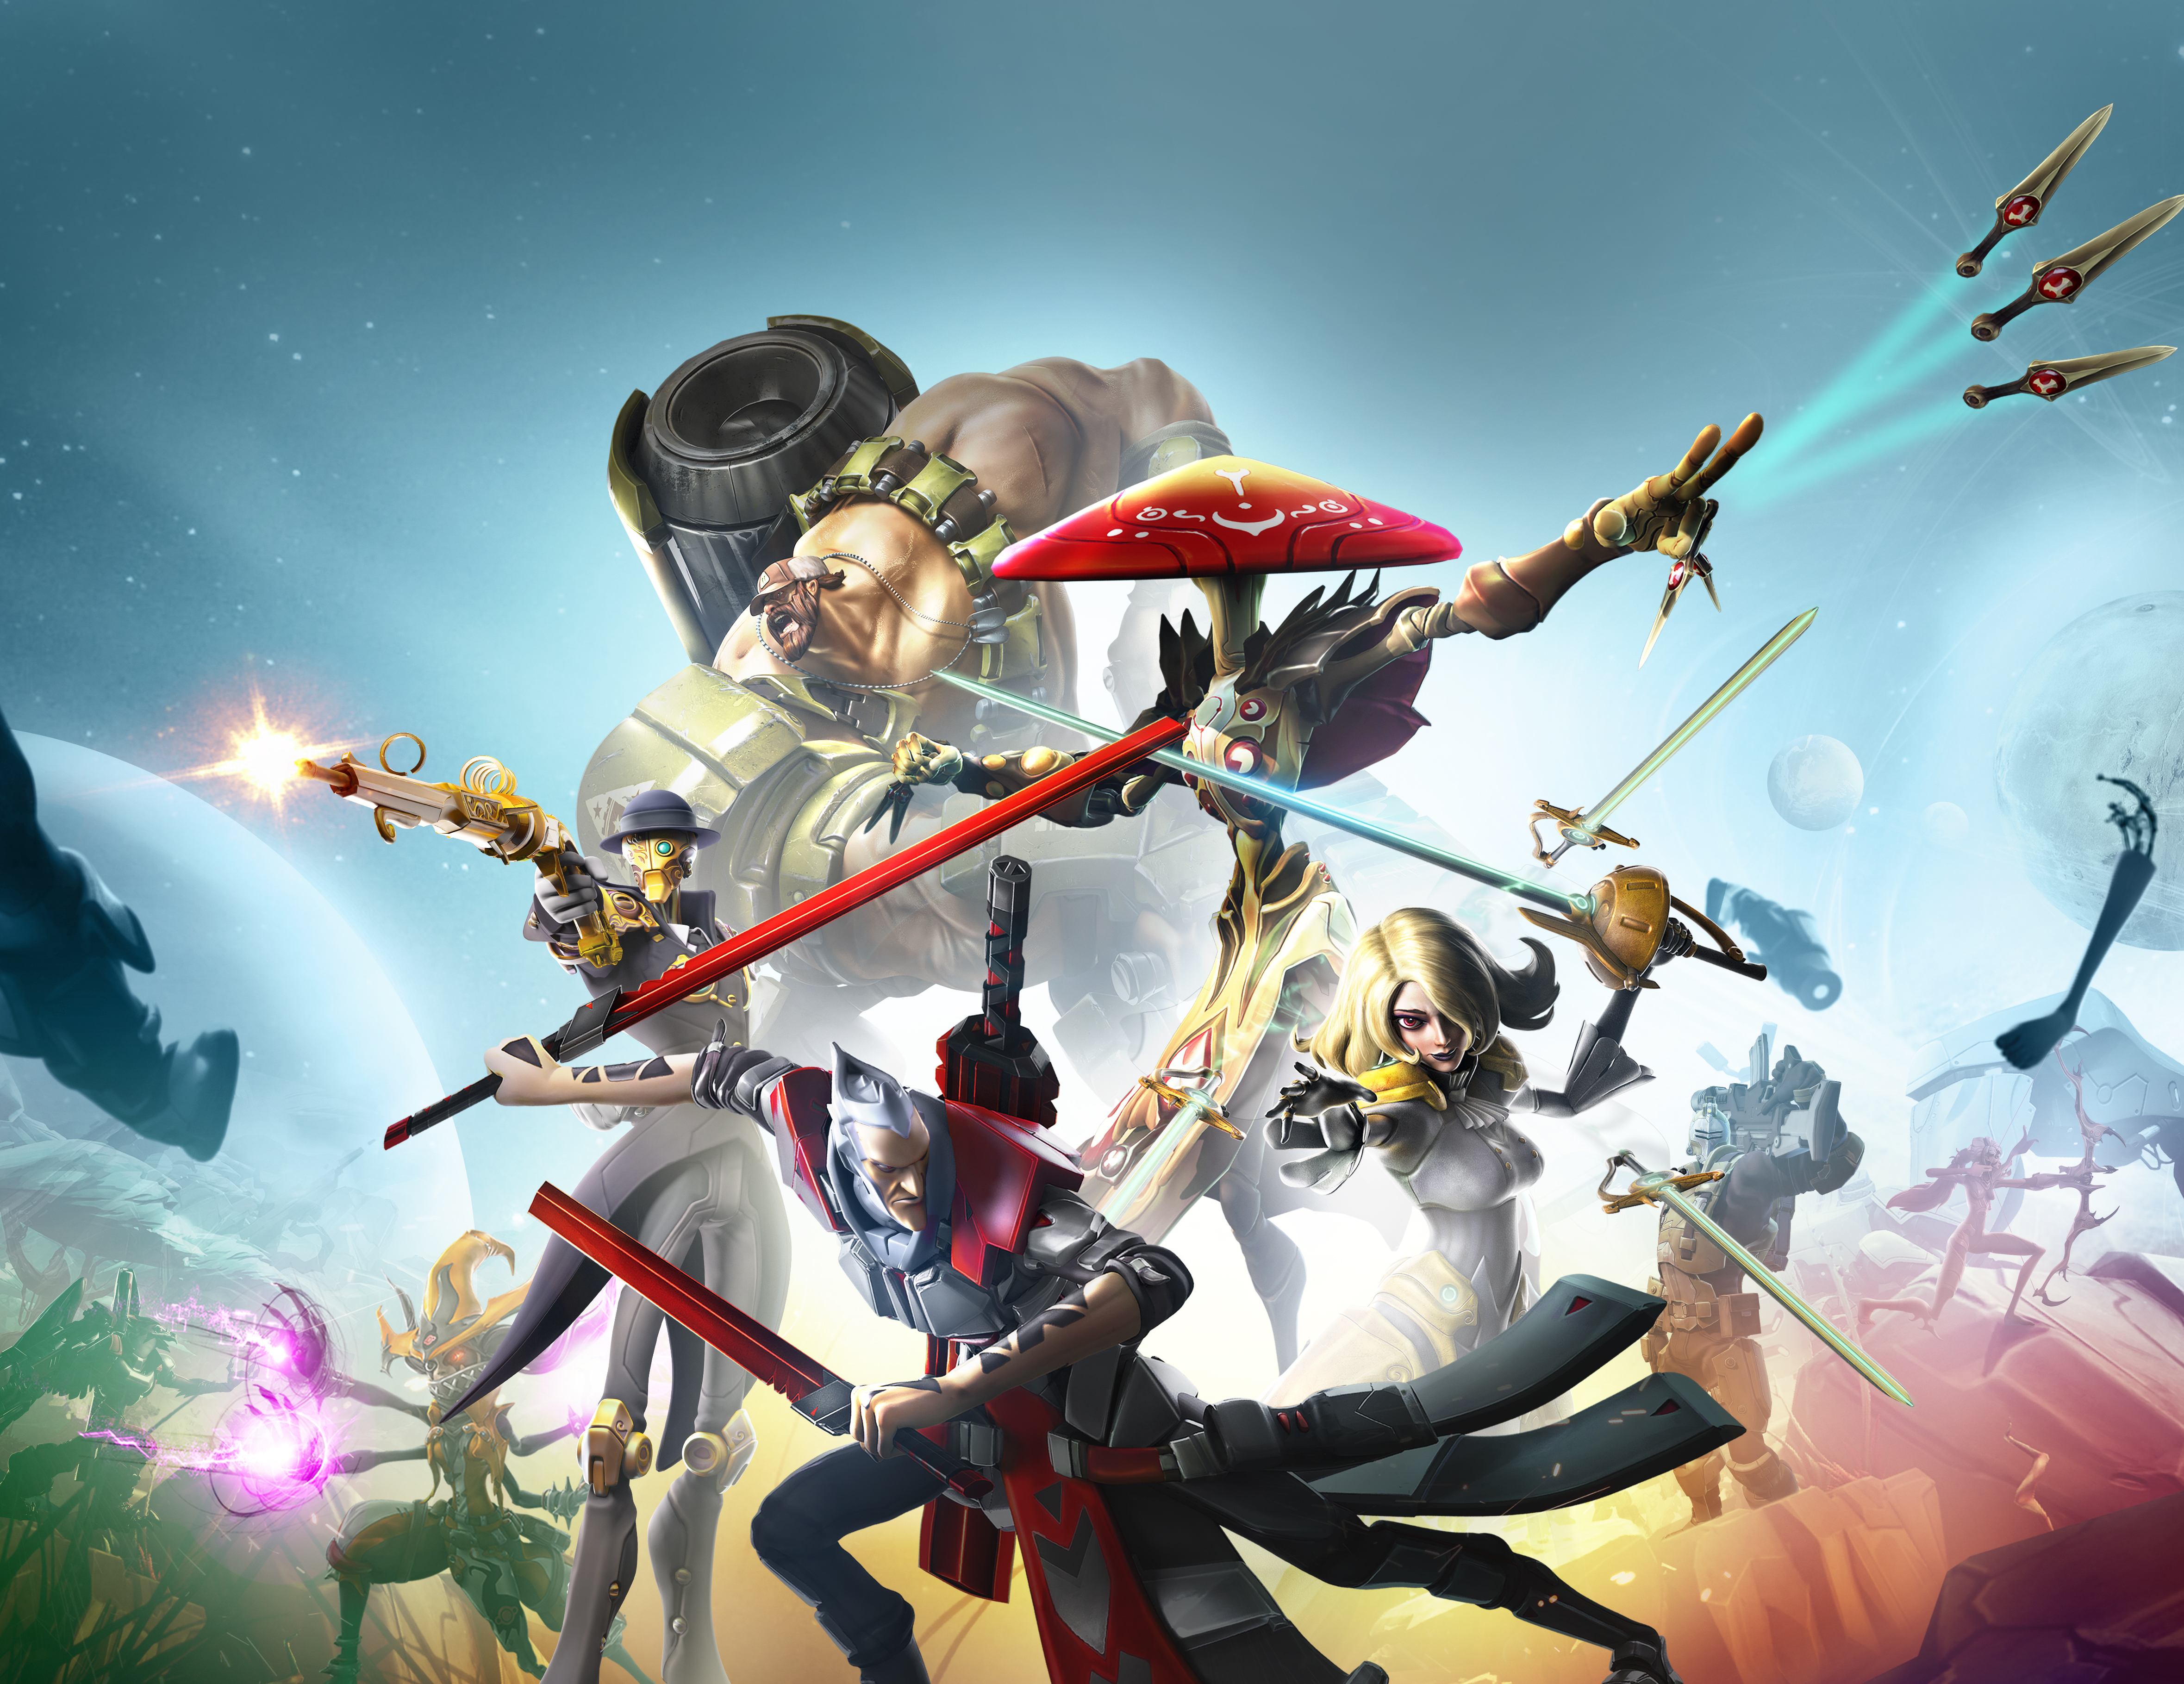
Check out even more top lists with our 10 reasons you should play Battleborn, then get hyped with some pre-release digital comics and 4k HD wallpapers.
Beginner’s Guide – Tips & Tricks to Get You Started Strong
Battleborn throws your right into the team-based competitive action and expects you to catch up all on your own.
This beginner’s guide assumes you understand the basics of FPS arena gameplay. You know how to shoot guns and activate abilities, and know what a Kill/Death ratio is. You know how to follow your team into combat, and you know to shoot those giant targets marked on your mini-map. This isn’t exactly your first rodeo, but it is your first experience in Battleborn. With that disclaimer out of the way, let’s get on with the show.
1. Choose Your Hero Wisely
After completing the prologue, you’ll have your choice of seven starter heroes. Five Attackers (Marquis, Rath, Oscar Mike, Thorn, and Orendi), one Support (Miko), and one Defender (Montana).
The Command menu is a great resource. The three classes (Attack, Support, and Defender) are only general archetypes, each hero has a unique function. Marquis and Rath are both Attackers, but Marquis is a sniper, while Rath is a melee fighter. Montana soaks up damage, while Miko heals allies. Choose the hero that’s tailored toward your playstyle. Do you love hit-and-run tactics? Give Oscar Mike a spin! If you like bunny-hopping circles around your enemies, try Orendi.
- To get a better understanding of your heroes, take a look at the Command screen or browse the hero cards on the official Battleborn website. Viewing Helix upgrades will give you a better understanding of the heroes’ role in PVE or PVP.
2. There are Two Ways to Unlock Every Hero
There are a total of 25 heroes to choose from in Battleborn, but most are locked until you’ve ranked up. Some heroes require a pretty high Command Rank to play as, but there are alternate methods for earning heroes.
- Every two Command Rank level-ups will earn you a new hero. At Level 6, 8, 10, 12, and so on. If you’re looking to pick your favorite a little earlier, check the Command Screen or browse through our list of Battleborn hero unlock requirements — there are alternate methods to speed up the process.
Instead of earning Command Ranks, you can also complete alternate challenges like completing campaign missions or earning victory in five matches with your faction. Some of these are predictably easy, while others… well, just look for yourself.
3. Play the Campaign First
Want some great gear before going online? Hit up the story mode. The PVE campaign provides plenty of loot for beginners, and a slightly less stressful experience overall. Many of the mechanics you’ll find online appear in the campaign in some form or another, including Helix upgrades and some defensive gameplay.
Not only will you earn plenty of gear, you’ll also level-up faster and unlock several new heroes just by completing every campaign episode. Boldur, Caldarius, ISIC, and Mellka all unlock just by completing their associated episodes.
4. Get Shards, Spend Shards
PVP is a colorful, confusing experience when you first get started and it isn’t always clear what you should be doing. One way you can help the team is by collecting those shiny glowing yellow shards and spending them to build turrets and other emplacements.
- Small shards are littered throughout the map, and large shards spawn in intervals at specific locations. Check your mini-map for diamond icons to see where there large shards are located. Small shards can be collected by running right over them, while large shards need to be shot, blown-up, or melee’d to get those rewards.
- So, what are shards for? Emplacements! Like some twisted Tower Defense game, you’ll find holographic images of emplacements all over the map. Building and upgrading emplacements will give your team an instant advantage and will help keep you alive. Turrets do a good job distracting enemy Bloodborn, giving you a good opening to attack.
Shards can also purchase Super Minions. Don’t spend shards on Super Minions willy-nilly, wait for your team and purchase when you’re prepared for a concentrated offensive, or if you’re in desperate need to stall the enemy.
5. Don’t Die! Seriously
This tip might seem pretty obvious. Dying is pretty much the #1 thing people don’t want to do. Hear us out — staying alive is the best way to win in Battleborn.
- Kills reward per-match XP for you and your opponents. If you allow opponents to kill you, you’re giving them a head-start in the war to reach Helix Level 10. Per-match XP allows you to unlock more and more powerful Helix upgrades, and the first team to reach Level 10 will always have an advantage.
If an encounter is looking grim, retreat! Sprinting will keep you alive. Many characters have special skills that will slow opponents. Use them to augment your retreat. Oscar Mike can use his Stealth Generator to disappear and quickly escape — use these powers often.
6. Close to Death? Teleport Back to Base
Part of the “Don’t Die” thing; this relatively un-explained feature left most Open Beta players exposed to the elements, low on health and wasting time healing at a slow medical station. If you’re stuck in an empty lane, post-intense-battle, and want to get back into the action with a quick full-heal, you can instantly teleport back to base.
- To instantly teleport back to base, press [PC: B]
This way you won’t be an easy target for the enemy team, and can collect some shards on the way back to the frontlines. It takes 2-3 seconds to teleport back, can be interrupted by enemy attacks (so find a safe place!) and costs nothing to use.
7. Improving the Mini-Map
The mini-map is full of useful information. It shows when Thrall camps spawn, where to find large shard clusters, enemy Battleborn locations, incoming Super Minions, and buildable locations. Before charging into a bad situation head-first, always consult the mini-map.
- To make the mini-map even more useful, hold [PC: 3 / XBO: D-Pad Down / PS4: D-Pad Down] to expand the mini-map and get a look at the entire battlefield.
You can also permanently adjust the mini-map to provide more information. Open Options -> Gameplay -> Match Map Display Styles to change how the mini-map displays information. Now you can change the mini-map from a RADAR display of your surrounding to a full view of the map.
8. Survival Vs. Melee Heroes
A good player utilizing a melee hero like Rath will always win against any ranged hero on a damage-to-damage basic. Melee heroes can devastate shooters, and just trying to circle-strafe and holding down the trigger won’t work. Thankfully, there are a few strategies you can use to survive and come out on top.
- Sprint: Your regular jog isn’t enough. Sprint in the opposite direction — hopefully until Rath/Shayne/Etc is distracted or breaks off. Sprinting toward your buildables / minions / objective or other heroes is always a smart move.
- Use Melee: Melee strikes have a feature not everyone knows about — knockback. When they get close, use melee to knock them back, then shoot or use your other primary weapon attack.
- Stun/Slow: Many heroes have Helix upgrades allowing them to stun or slow opponents. Save these abilities for any melee encounters if there’s a particularly tough melee hero on the enemy team.
- Don’t Go Alone: The melee hero’s biggest weakness is a team. Stay close to your allies and any over-extended melee attacker won’t stand a chance.
These are just rules of thumb, and with over 25 heroes to deal with, there are going to be lots of exceptions. Still, if you just can’t seem to survive against melee attackers and want to know what you’re doing wrong, these tips are a good place to start formulating new strategies.
9. Activate That Gear
As explained above, it’s easier to earn early-game gear in the campaign than in PVP, but no matter where you earn gear, you should quickly come to grips with Activation Cost.
On your gear card, check the yellow stats at the bottom. That’s the activation cost, and every piece of gear has it. The better the gear, the more it’s going to cost to activate. Pretty simple, but synergistic gear can turn the tides under the right circumstances, and any buffs are going to help you survive in the long-run.
- Gear becomes available past Command Rank 3. If you haven’t made it that far yet, there’s an Easter egg waiting for you. Check it out.
10. Always Push to the Objective
Whether you’re in PVE fighting minions or clashing with enemy Battleborn in Incursion, the best way to win is to push toward the objective and push hard. Applying pressure is the only way to win, and every moment you’re avoiding combat, leaving minions to die against enemy Battleborn, or waiting at healing buildables is another chance for your opponents to earn victory.
Certain combinations of skills can turn you into a nightmare on Incursion. Let’s take Oscar Mike for example, and show how he can ruin the enemy objective.
- Oscar Mike is a starter hero, and one with an amazing synergistic Helix combo that can quickly wreck enemy objectives.
To become a pro Pusher, unlock these Helix upgades:
- Sneak Attack: Deactivating Stealth Generator with an attack provides a momentary +20% damage boost
- Nades-On-Nades: Frag Grenades spawn 5 child grenades.
- Scope: Increases maximum effective range when aiming-down-sights.
- Back In A Jiff: Activating Stealth Generator immediately recharges shields
- Hollow-Point Round: First 15 Assault Rifle rounds penetrates enemy shields, +25% shield penetration.
- Stealthy Shields: Increases shield recharge rate while Stealth is active, +105 shield recharge per second
- Disruption Rounds: All Assault Rifle rounds penetrate enemy shields, +25% shield penetration
- Fragpocalypse: +30 Frag Grenade damage
- Stealth Savings: Deactivate Stealth Generator early refunds cooldown cost.
- Holy Crap, Space Laser!: Launches a concentrated laser beam from space. Penetrates structures, smaller AOE.
This combo of Helix upgrades can be a nightmare for the enemy team in Incursion. The Stealth Generator abilities allow Oscar Mike to escape combat safely or roam freely around the map, planting grenades or using his shield-penetrating Assault Rifle to destroy or damage the objective.
Because the objective does not move, the extra Fragpocalypse damage and the space laser are far more useful if you’re looking to deal lots of damage. The shield penetration also allows Oscar Mike to damage the objective without having to remove shields first.
If you’re in a close Incursion match, pop Stealth Generator and find a secluded spot to shoot the enemy objective. You can easily deal several percentage points of damage before the enemy team realizes what you’re up to. By then, with the Stealth Savings upgrade, you should have the Stealth Generator recharged, allowing you to safely retreat.
This strategy won’t work for every team, but if you’re just getting started, this is a pretty fun combo to employ. Now you’re ready to be the badass you were born to be.
Check out even more Battleborn unlockables, easter eggs, tips and tricks.
- Battleborn: PC .Ini Tweaks & Optimization Guide
- Battleborn: Easter Eggs & References List
- Battleborn: How to Get Legendary Gear – Unlockables Guide
- Battleborn: How to Skip the Opening Cinematic
The post Battleborn: Top 10 Tips & Tricks for Beginners appeared first on Gameranx.